Ever found yourself drowning in paperwork after an environmental insurance claim? Yeah, us too. If you’ve ever stared at a stack of forms wondering, “Where do I even start?”—you’re not alone. But what if I told you there’s a way to streamline the entire process?
In this guide, we’ll unravel the complexities of Environmental Claim Documentation. By the end, you’ll know how to document claims like a pro, avoid common pitfalls, and ensure your credit card rewards don’t go down the drain because of unexpected environmental mishaps.
Table of Contents
- Key Takeaways
- Why Environmental Claim Documentation Matters
- Step-by-Step Guide to Perfect Documentation
- Best Practices for Streamlining Your Process
- Real-World Success Stories
- FAQs About Environmental Claims
- Conclusion
Key Takeaways
- Accurate documentation can make or break your environmental insurance claim.
- Photos, receipts, and expert reports are vital components of effective documentation.
- Credit cards with purchase protection can offer additional coverage for environmentally-related disasters.
- Sloppy record-keeping can lead to denied claims—so stay organized from day one!
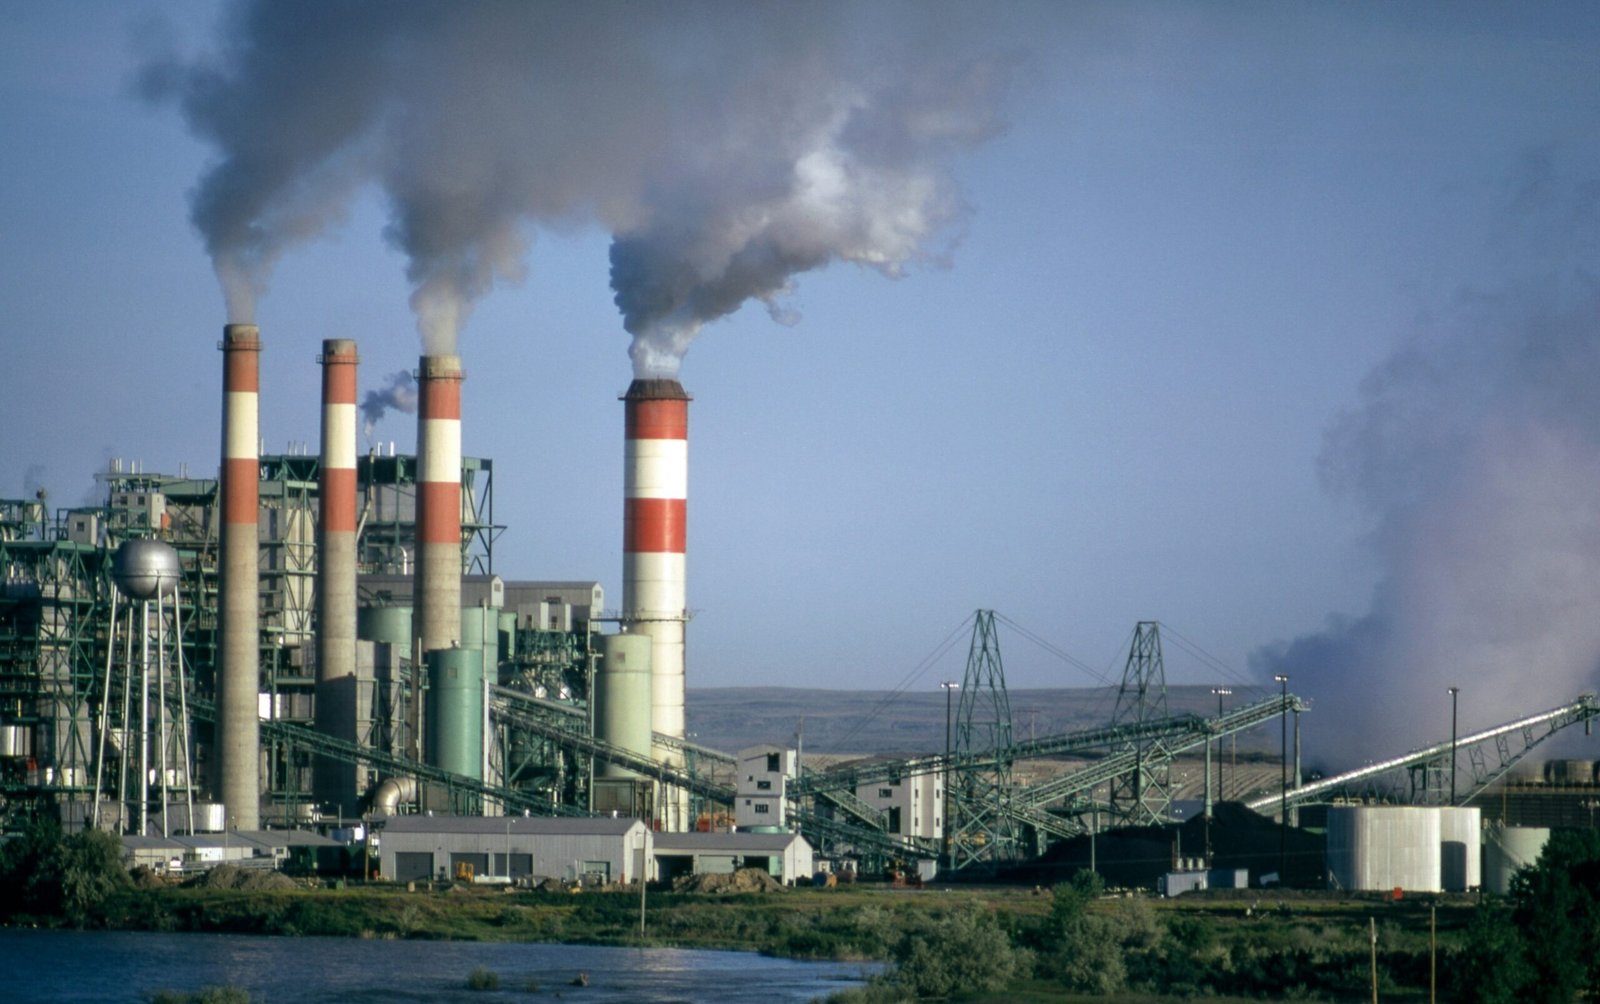
Why Environmental Claim Documentation Matters
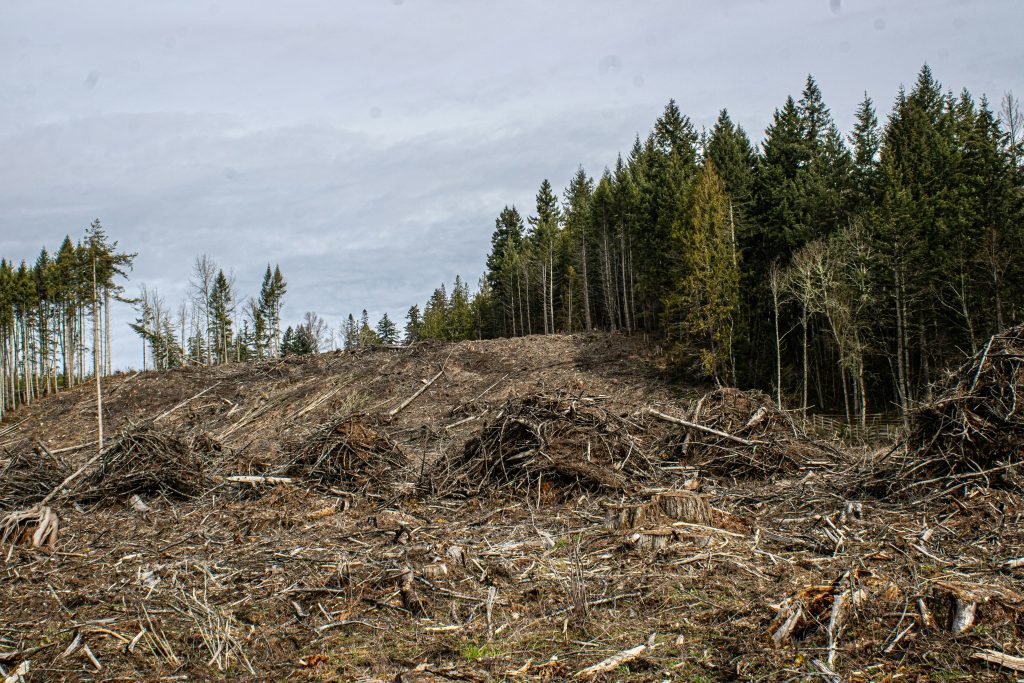
Picture this: You wake up one morning to discover water damage caused by flooding. Not only is your home affected, but your prized collection of rare plants has been destroyed. Now imagine filing an insurance claim without proper documentation. Sounds stressful, right?
According to recent statistics, nearly 40% of all environmental insurance claims are delayed or denied due to poor documentation. That’s why mastering Environmental Claim Documentation isn’t just helpful—it’s essential. Whether it’s proof of property value, repair estimates, or loss assessments, having everything ready ensures smoother processing and faster payouts.
“Optimist You:”
“With good documentation, my claim will sail through approval!”
“Grumpy You:”
“Ugh, who has time to organize all these receipts? Fine—but only if coffee’s involved.”
Step-by-Step Guide to Perfect Documentation
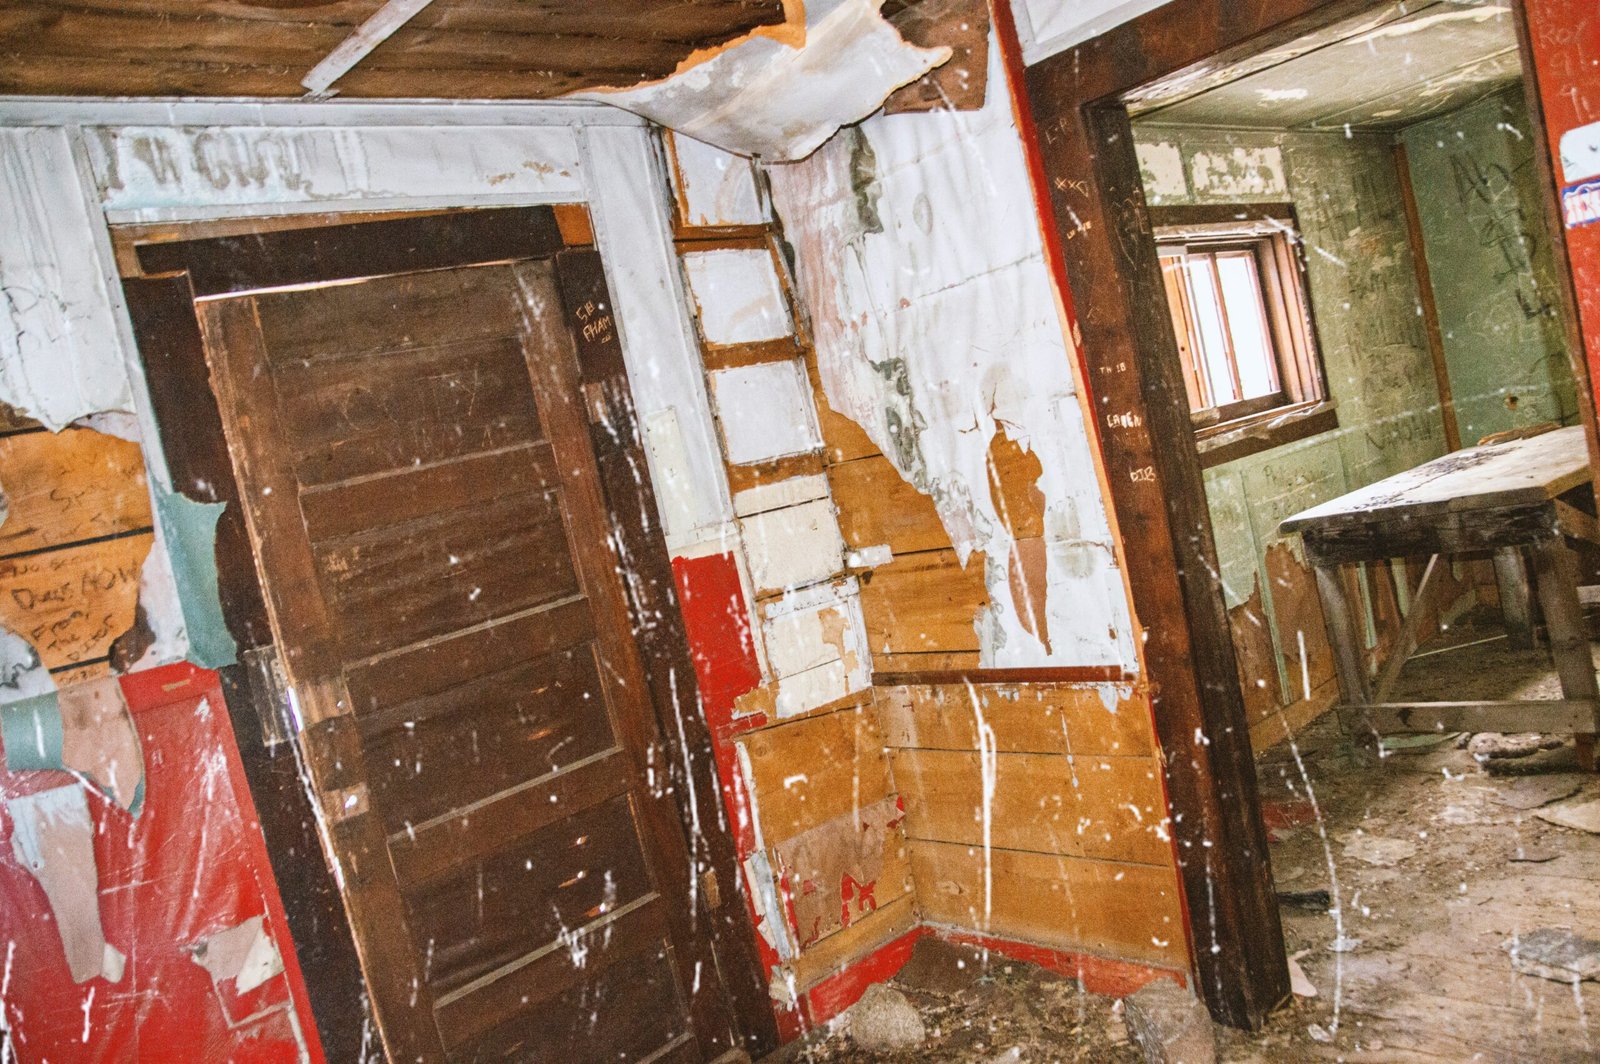
1. Assess the Damage Immediately
The first step is to assess the extent of the damage as soon as possible. Use your smartphone camera (or hire a professional) to capture high-quality images. Make sure they clearly show:
- The scope of the area affected.
- Specific items damaged or lost.
- Date stamps on photos for authenticity.
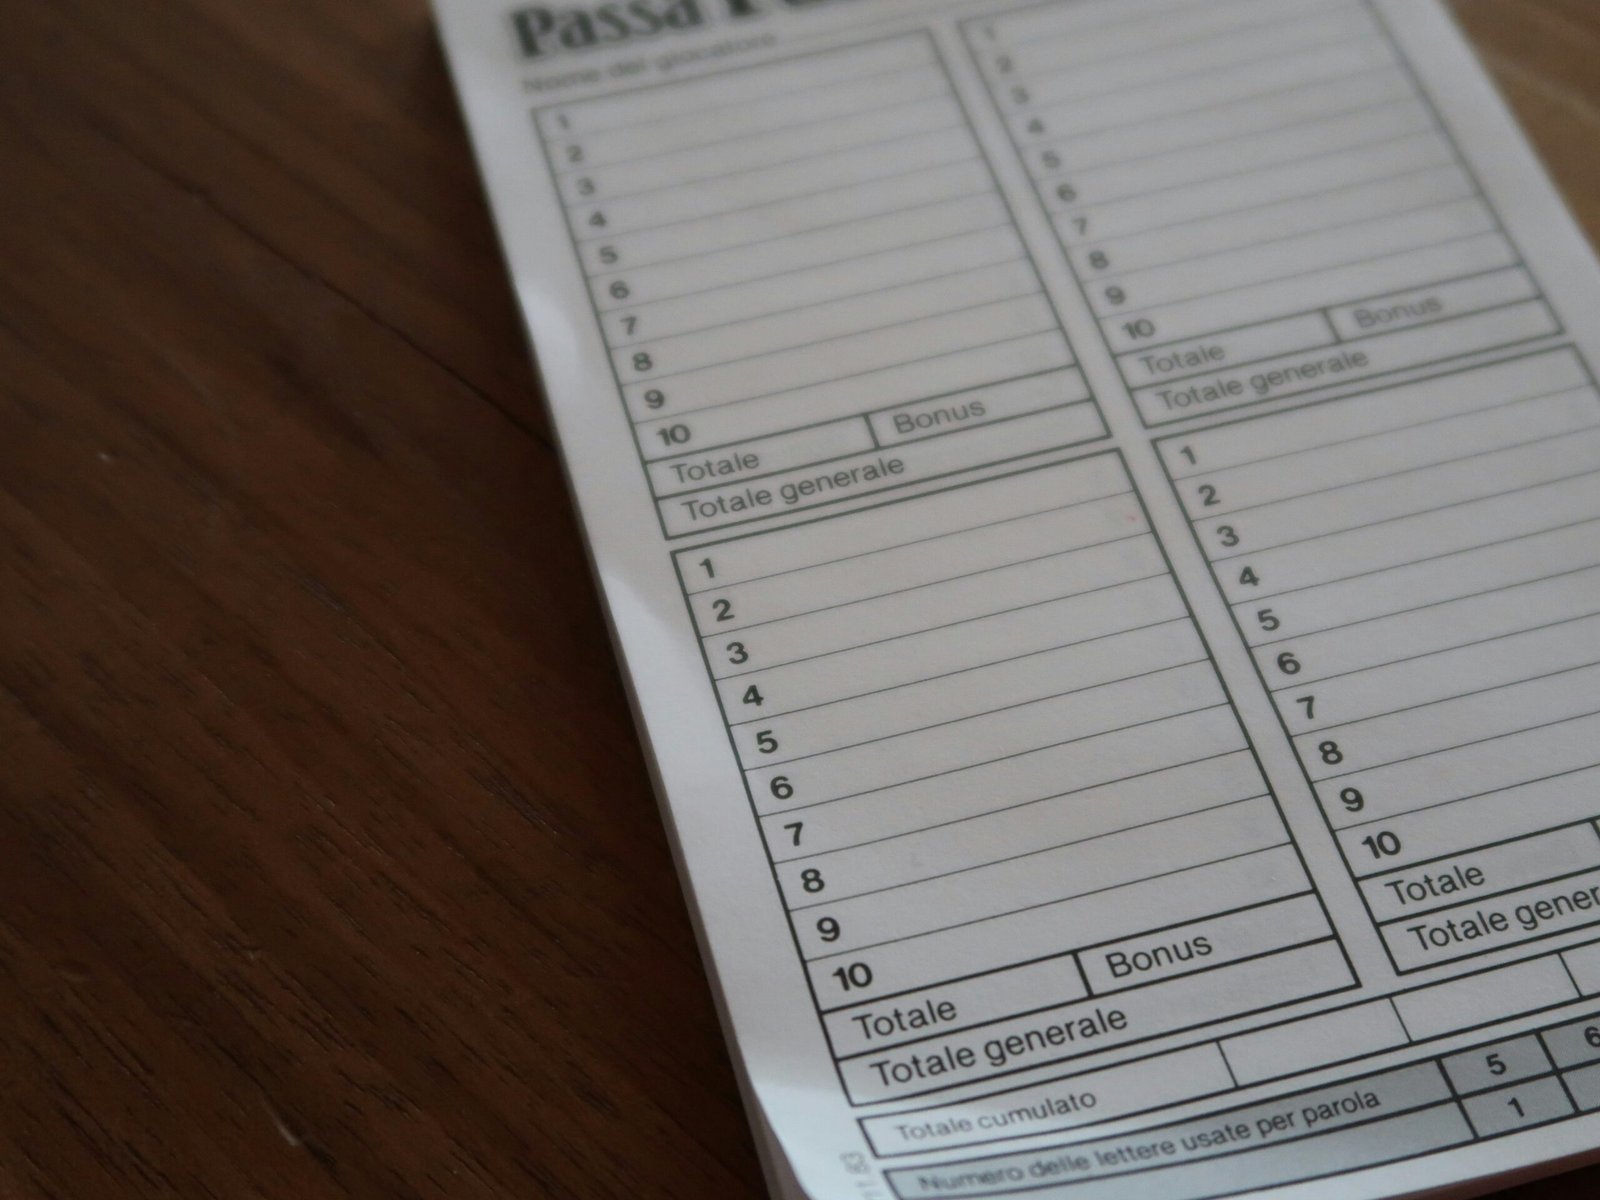
2. Gather Supporting Documents
This includes invoices, contracts, appraisals, and any other relevant financial records. If you’ve charged purchases related to your property on a credit card, include those statements—they might provide extra proof of ownership.
3. Consult Experts When Necessary
If the incident involves structural integrity issues, consult engineers or contractors who can provide detailed assessment reports. These documents carry significant weight during reviews.
Pro Tip: Keep copies of EVERYTHING. Seriously. Store digital backups in cloud storage—and print physical copies just in case.
Best Practices for Streamlining Your Process

Here’s a list of best practices guaranteed to save you hours of headache:
- Create a dedicated folder (physical AND digital) for storing all claim-related materials.
- Use apps like Google Drive or Dropbox to sync files across devices.
- Label every document with clear dates and descriptions (e.g., “Flood Photos_09252023”).
- Don’t wait until the last minute—start documenting as soon as something goes wrong.
A Terrible Tip (DON’T DO THIS):
Try submitting blurry selfies as evidence. Spoiler alert: It won’t work.
Real-World Success Stories
Meet Sarah, a small business owner whose warehouse flooded last winter. Thanks to meticulous Environmental Claim Documentation, she received full compensation within six weeks—a record turnaround time for her insurer. Her secret? A combination of timestamped photos, contractor quotes, and inventory lists that left no room for doubt.
On the flip side, John learned the hard way when his claim was denied after failing to submit adequate proof of damages. He later admitted, “I thought snapping pics with my phone would be enough. Rookie mistake.” Moral of the story? Be thorough—or risk losing out big time.
Rant Section:
I cannot STAND when people think taking grainy pictures under bad lighting counts as “sufficient documentation.” It doesn’t! Invest in decent lighting, folks. Sounds like your laptop fan during a 4K render—whirrrr—as you scramble trying to fix things later.
FAQs About Environmental Claims
What should I include in my Environmental Claim Documentation?
You’ll need detailed photos, supporting documents (receipts, invoices), and expert opinions where applicable. The more comprehensive, the better.
Can I use my credit card statement as proof of ownership?
Absolutely! Credit card statements often serve as valid proof of purchase, especially if itemized details are included.
How long does it take to process a well-documented claim?
Typically between two to eight weeks, depending on the complexity and insurer policies. Well-organized submissions tend to move quicker through the system.
Conclusion
Filing an environmental insurance claim may seem daunting, but with solid Environmental Claim Documentation, you’ll breeze through the process like a champ. Remember: preparation is key, patience pays off, and organization saves lives—or at least sanity.
So grab that coffee, dive into those receipts, and tackle your next claim with confidence. After all, your future self will thank you.
And hey, here’s a little haiku to wrap things up:
Papers pile high,
Claims flow smooth with care taken,
Peace restored again.